2D LIDAR and ROS 2 Cartographer#
Slamtec* RPLIDAR A3 2D LIDAR#
Connect a Slamtec* RPLIDAR A3 2D LIDAR to your system.
Add a new udev rule.
Create a new file:
sudo nano /etc/udev/rules.d/rplidar.rules
Add these lines:
# set the udev rule, make the device_port be fixed by rplidar
#
KERNEL=="ttyUSB*", ATTRS{idVendor}=="10c4", ATTRS{idProduct}=="ea60", MODE:="0666", SYMLINK+="rplidar"
Reload the rules:
sudo udevadm control --reload-rules
sudo udevadm trigger
Check if your installation has the amr-rplidar and amr-cartographer Docker* images.
docker images |grep amr-rplidar
#if you have it installed, the result is:
amr-rplidar

docker images |grep amr-cartographer
#if you have it installed, the result is:
amr-cartographer
Note
If one or both of the images are not installed, continuing with these steps triggers a build that takes longer than an hour (sometimes, a lot longer depending on the system resources and internet connection).
If one or both of the images are not installed, Intel® recommends installing the Robot Base Kit or Robot Complete Kit with the Get Started Guide for Robots.
Check that EI for AMR environment is set:
echo $AMR_TUTORIALS
# should output the path to EI for AMR tutorials
/home/user/edge_insights_for_amr/Edge_Insights_for_Autonomous_Mobile_Robots_2023.1/AMR_containers/01_docker_sdk_env/docker_compose/05_tutorials
If nothing is output, refer to Get Started Guide for Robots Step 5 for information on how to configure the environment.
Run the Sample Application.
Export the device port name:
export RPLIDAR_SERIAL_PORT=/dev/rplidar
# this value was set up in the step 2b
Run the Slamtec* RPLIDAR tutorial:
docker compose -f $AMR_TUTORIALS/cartographer.rplidar_a3.lua.tutorial.yml up
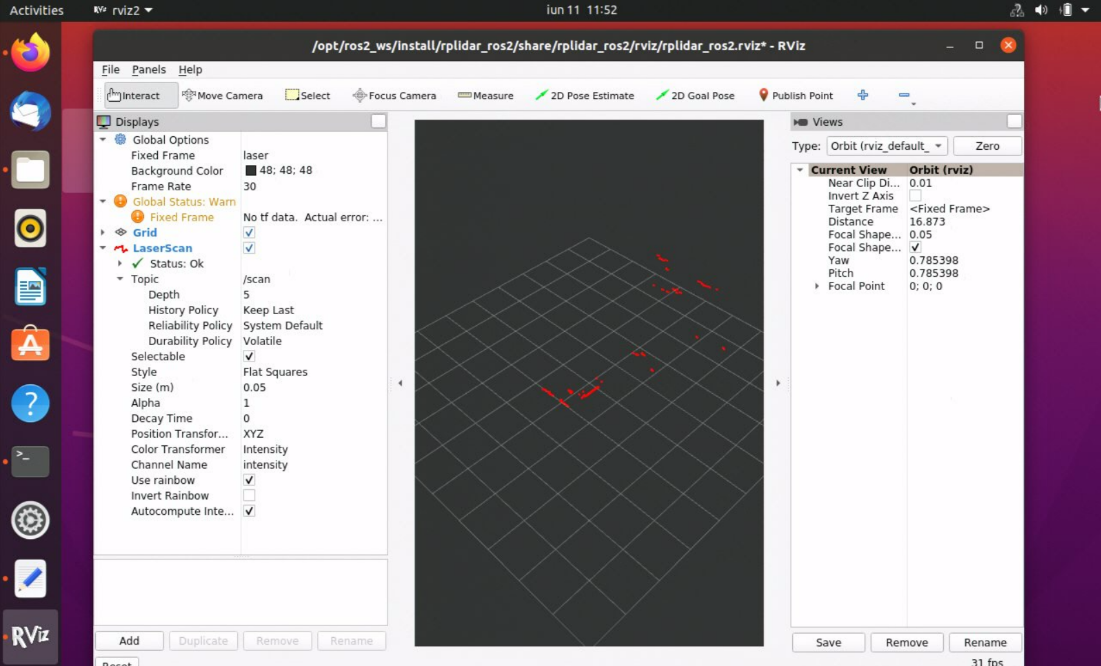
Go to rviz2 that is already open, and turn off LaserScan.
Click Add in lower left corner, click By topic, select PointCloud2 from the
/scan_matched_points2topic, and click OK.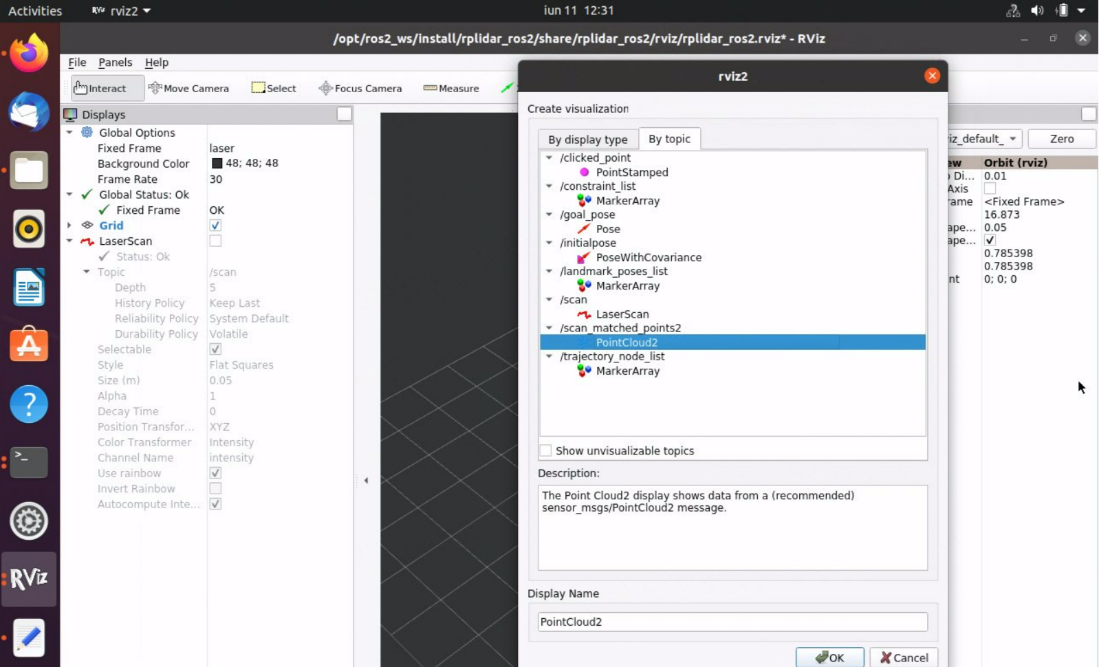 The rviz2 window looks like this:
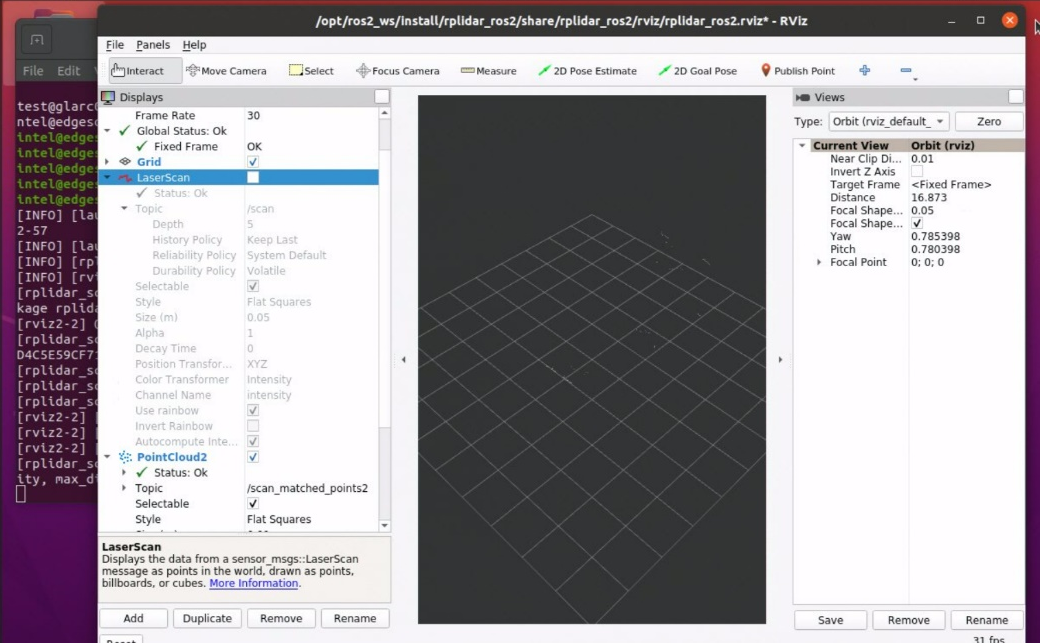
SICK* nanoScan3* Safety Laser Scanner#
Connect a SICK* nanoScan3* laser scanner to your system. For the hardware setup and configuration required in a production environment, see the SICK* website.
Get the SICK* nanoScan3* laser scanner’s IP and the host’s IP.
This information can be found when configuring the SICK* nanoScan3* laser scanner using the Safety Designer, in the “Networking” chapter.
Check if your installation has the amr-sick-nanoscan and amr-cartographer Docker* images.
docker images |grep amr-sick-nanoscan
#if you have it installed, the result is:
amr-sick-nanoscan

docker images |grep amr-cartographer
#if you have it installed, the result is:
amr-cartographer
Note
If one or both of the images are not installed, continuing with these steps triggers a build that takes longer than an hour (sometimes, a lot longer depending on the system resources and internet connection).
If one or both of the images are not installed, Intel® recommends installing the Robot Complete Kit with the Get Started Guide for Robots.
Check that EI for AMR environment is set:
echo $AMR_TUTORIALS
# should output the path to EI for AMR tutorials
/home/user/edge_insights_for_amr/Edge_Insights_for_Autonomous_Mobile_Robots_2023.1/AMR_containers/01_docker_sdk_env/docker_compose/05_tutorials
If nothing is output, refer to Get Started Guide for Robots Step 5 for information on how to configure the environment.
Run the Sample Application.
Prepare the environment for lidar access:
# Export the Sick NanoScan3 IP and the host's IP
export HOST_IP=<host_ip>
export SICK_NANOSCAN_IP=<sick_nanoscan_ip>
Run the SICK* nanoScan3* laser scanner tutorial:
docker compose -f $AMR_TUTORIALS/cartographer.sick_nanoscan.lua.tutorial.yml up
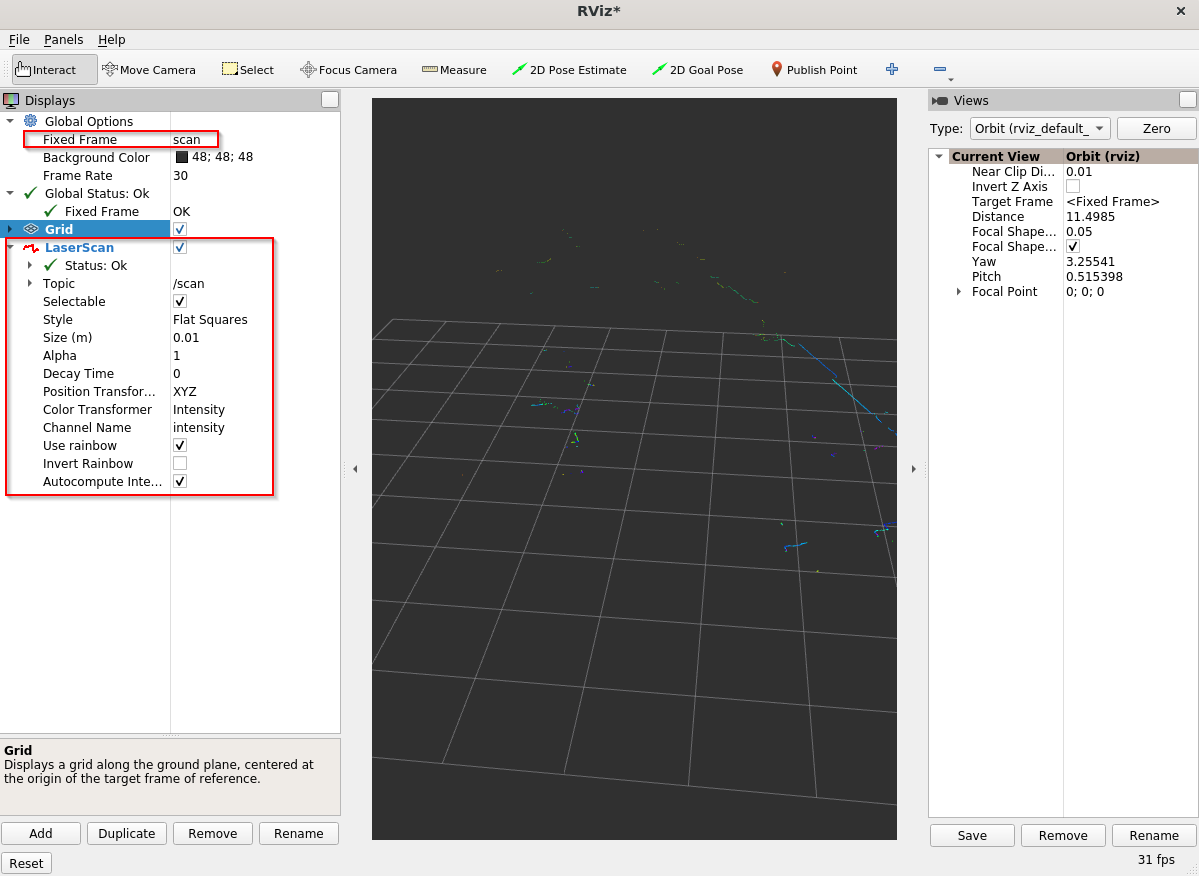
In rviz2, add the LaserScan topic (Add > By Topic > scan/LaserScan), and change Fixed Frame to scan:
Go to rviz2 that is already open, and turn off LaserScan.
Click Add in lower left corner, click By topic, select PointCloud2 from the
/scan_matched_points2topic, and click OK.
The rviz2 window looks like this: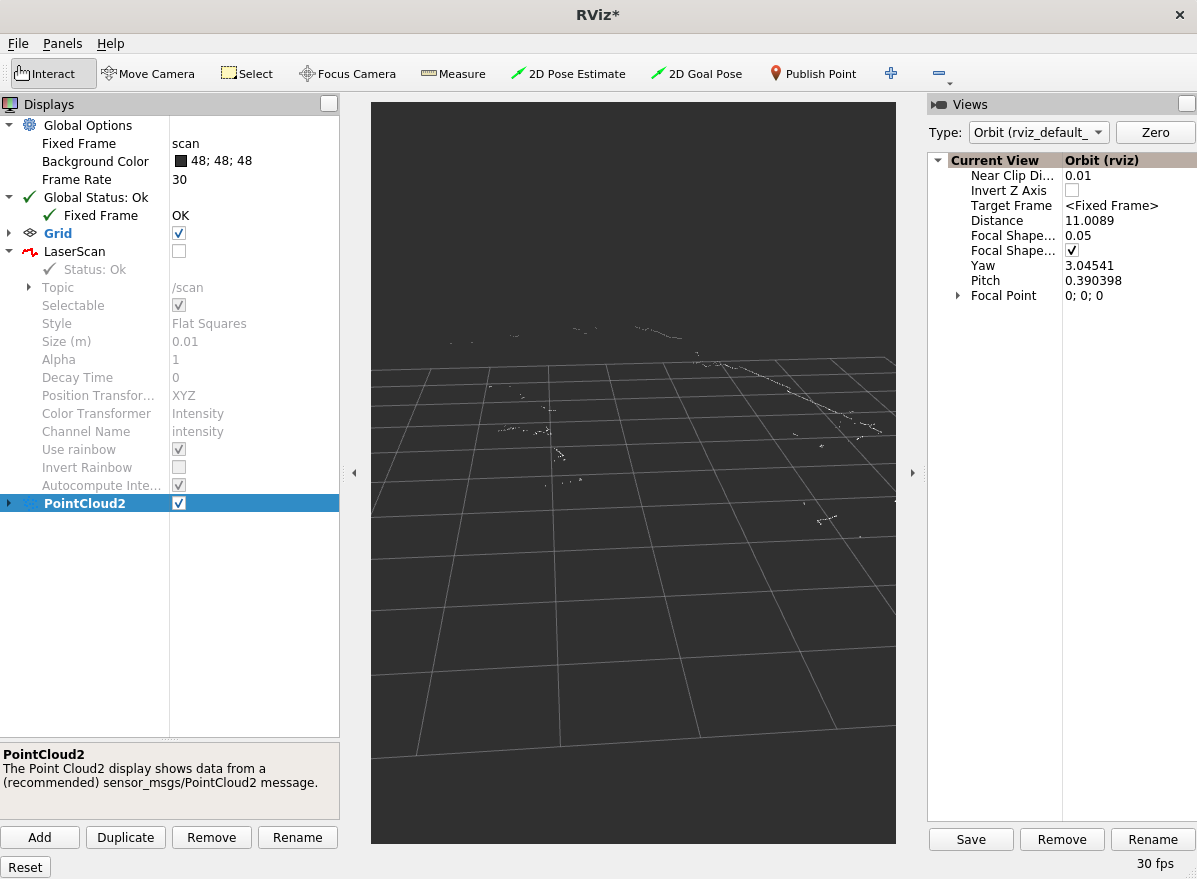
Troubleshooting#
For general robot issues, go to: Troubleshooting for Robot Tutorials.